When I share recipes in this column whose ingredients include dairy products like yogurt, buttermilk and sour cream, I often recommend swapping in homemade versions for store-bought containers. They’re not only delicious and affordable but also so easy to make.
Yogurt was my first homemade dairy recipe, more than 20 years ago. Yogurt is a great beginner dairy product because it’s ready in just a few hours and doesn’t require special ingredients or tools (although an instant-read thermometer lets you nail the temperature targets).
I’m the main yogurt eater in my house, so I make a quart jar at a time, setting aside a little yogurt from each jar as the next batch’s starter. For your first batch (and to replenish your starter if it consistently makes runny yogurt), buy a small container of plain whole-milk yogurt. Ensure the label says it only contains milk and live cultures and then lists specific ones. Yogurt starter cultures are also available online but can cost more.
Whole milk makes the densest yogurt. You’ll get the most consistent results if that milk has not been ultrapasteurized. I also prefer nonhomogenized or “cream on top” milk for all of my homemade dairy creations. Homogenization evenly distributes milk fat and proteins—the components you’re trying to separate from the whey when you make cheese and other dairy products.
For even thicker yogurt, stir a little dry milk powder into the cold milk or strain the finished yogurt through a fine-mesh colander set over a bowl until it stops dripping. Use the collected whey in Bagna Cauda-Style Mashed Potatoes or other recipes that call for buttermilk.
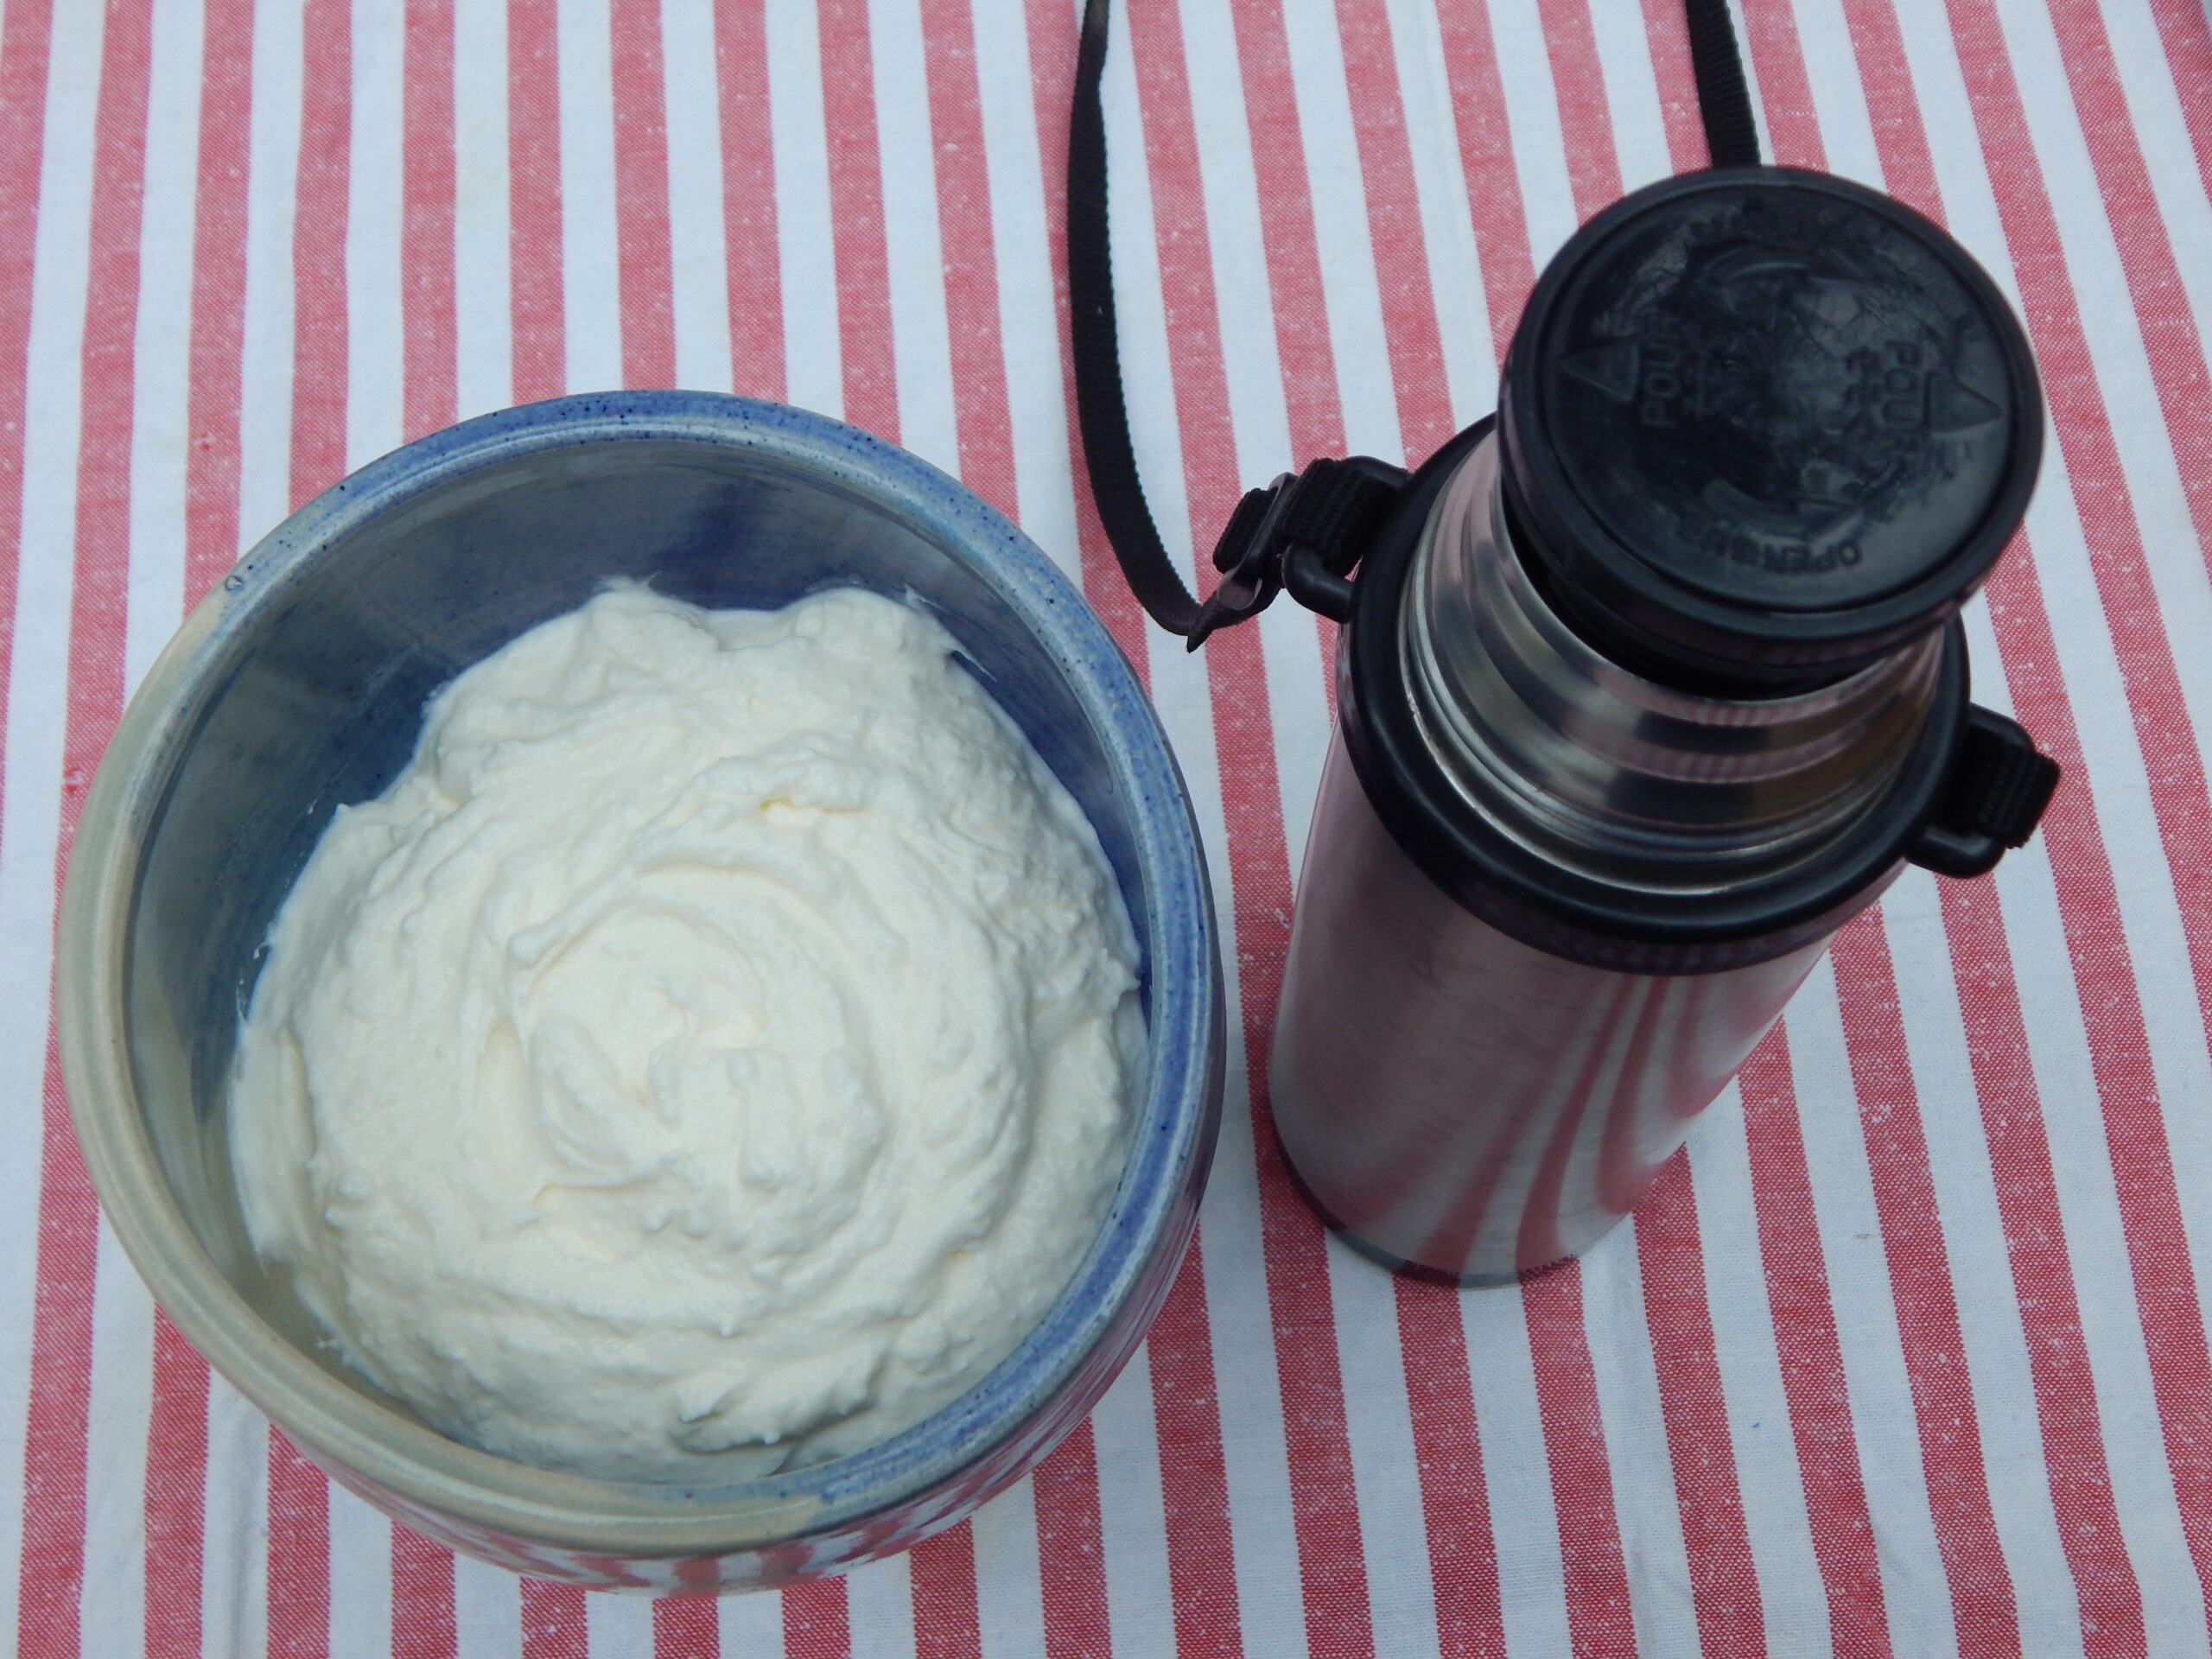
Culturing yogurt must sit for several hours at a warmer temperature than I keep my house, and I’ve found a simple way to achieve that for a small batch: a well-sealing thermos. Larger batches can be made in several thermos containers, jars placed on a folded towel inside a slow cooker set to warm or a yogurt maker machine.
The first time you make yogurt, check it after four hours. Letting it sit longer makes more whey separate from the curd, for thicker yogurt, but also increases the tanginess.
Homemade Small-Batch Yogurt
Makes 1 quart
4 cups whole or 2% milk
4 tablespoons dry milk powder (optional)
2–3 tablespoons plain yogurt with live cultures or yogurt starter
Whisk together the milk and dry milk powder, if using, until thoroughly combined. In a thick-bottomed saucepan, heat the milk over medium heat, until the temperature is between 180°F and 190°F. Remove the milk from the heat and let it to slowly cool until between 105°F and 115°F.
Pour the warm milk into a 1-quart thermos. Add the active-culture yogurt, seal the thermos lid and shake to distribute the starter yogurt. Let the mixture sit for four hours to overnight, until the curd forms and you like its sour taste.
Pour the finished yogurt into a clean lidded jar or container. Store it in the refrigerator for up to two weeks.
Julie Laing is a Bigfork-based cookbook author and food blogger at TwiceAsTasty.com.