One of my first homemade cheeses is called farmer’s cheese, queso blanco or paneer, depending on its cultural roots and how you finish it. I dubbed my favorite version lemon cheese, because I use lemon juice to encourage milk proteins to form curds.
This cheese takes just three ingredients and 20 minutes of hands-on time. It’s so simple that I’ve made it with kids as young as three years and teach the process in adult workshops. Two things happen to form this cheese. First, I heat milk like I do for Homemade Small-Batch Yogurt – and often split the hot milk between the two recipes to make both at once. Then, for the cheese, I stir in an acidic ingredient, causing curds and whey to separate. Vinegar or lime juice works as effectively as lemon juice and imparts a different flavor.
A few tools and ingredients aid in successful cheese making. Avoid ultrapasteurized milk, because the process can prevent curds from bonding together. Nonhomogenized or cream-on-top milk works best, because the fat separates so easily. To hit a precise temperature window, check the milk with an instant-read thermometer. Use finely woven cheesecloth to easily separate the liquid whey and solid curds. I buy this at Withey’s Health Foods and handwash it repeatedly.
Lemon Cheese
Makes about 2 pounds
1 gallon pasteurized whole milk, ideally nonhomogenized
8 to 10 tablespoons lemon juice
1 teaspoon cheese salt or flaky kosher salt, or to taste
In a large, heavy-bottom pot, like a stainless steel stockpot or enameled Dutch oven, slowly heat the milk over medium heat, stirring occasionally, until between 185°F and 190°F. Remove the pot from the heat and add 8 tablespoons of lemon juice, stirring as you add it a tablespoon at a time, until the milk looks slightly curdled. Cover the pot and let it sit for 15 minutes so that the curds and whey separate.
Check for clear separation, with yellowish whey and clumpy curds. If the whey looks milky, add the remaining 1 to 2 tablespoons of lemon juice and let the mixture sit, covered, for another five minutes.
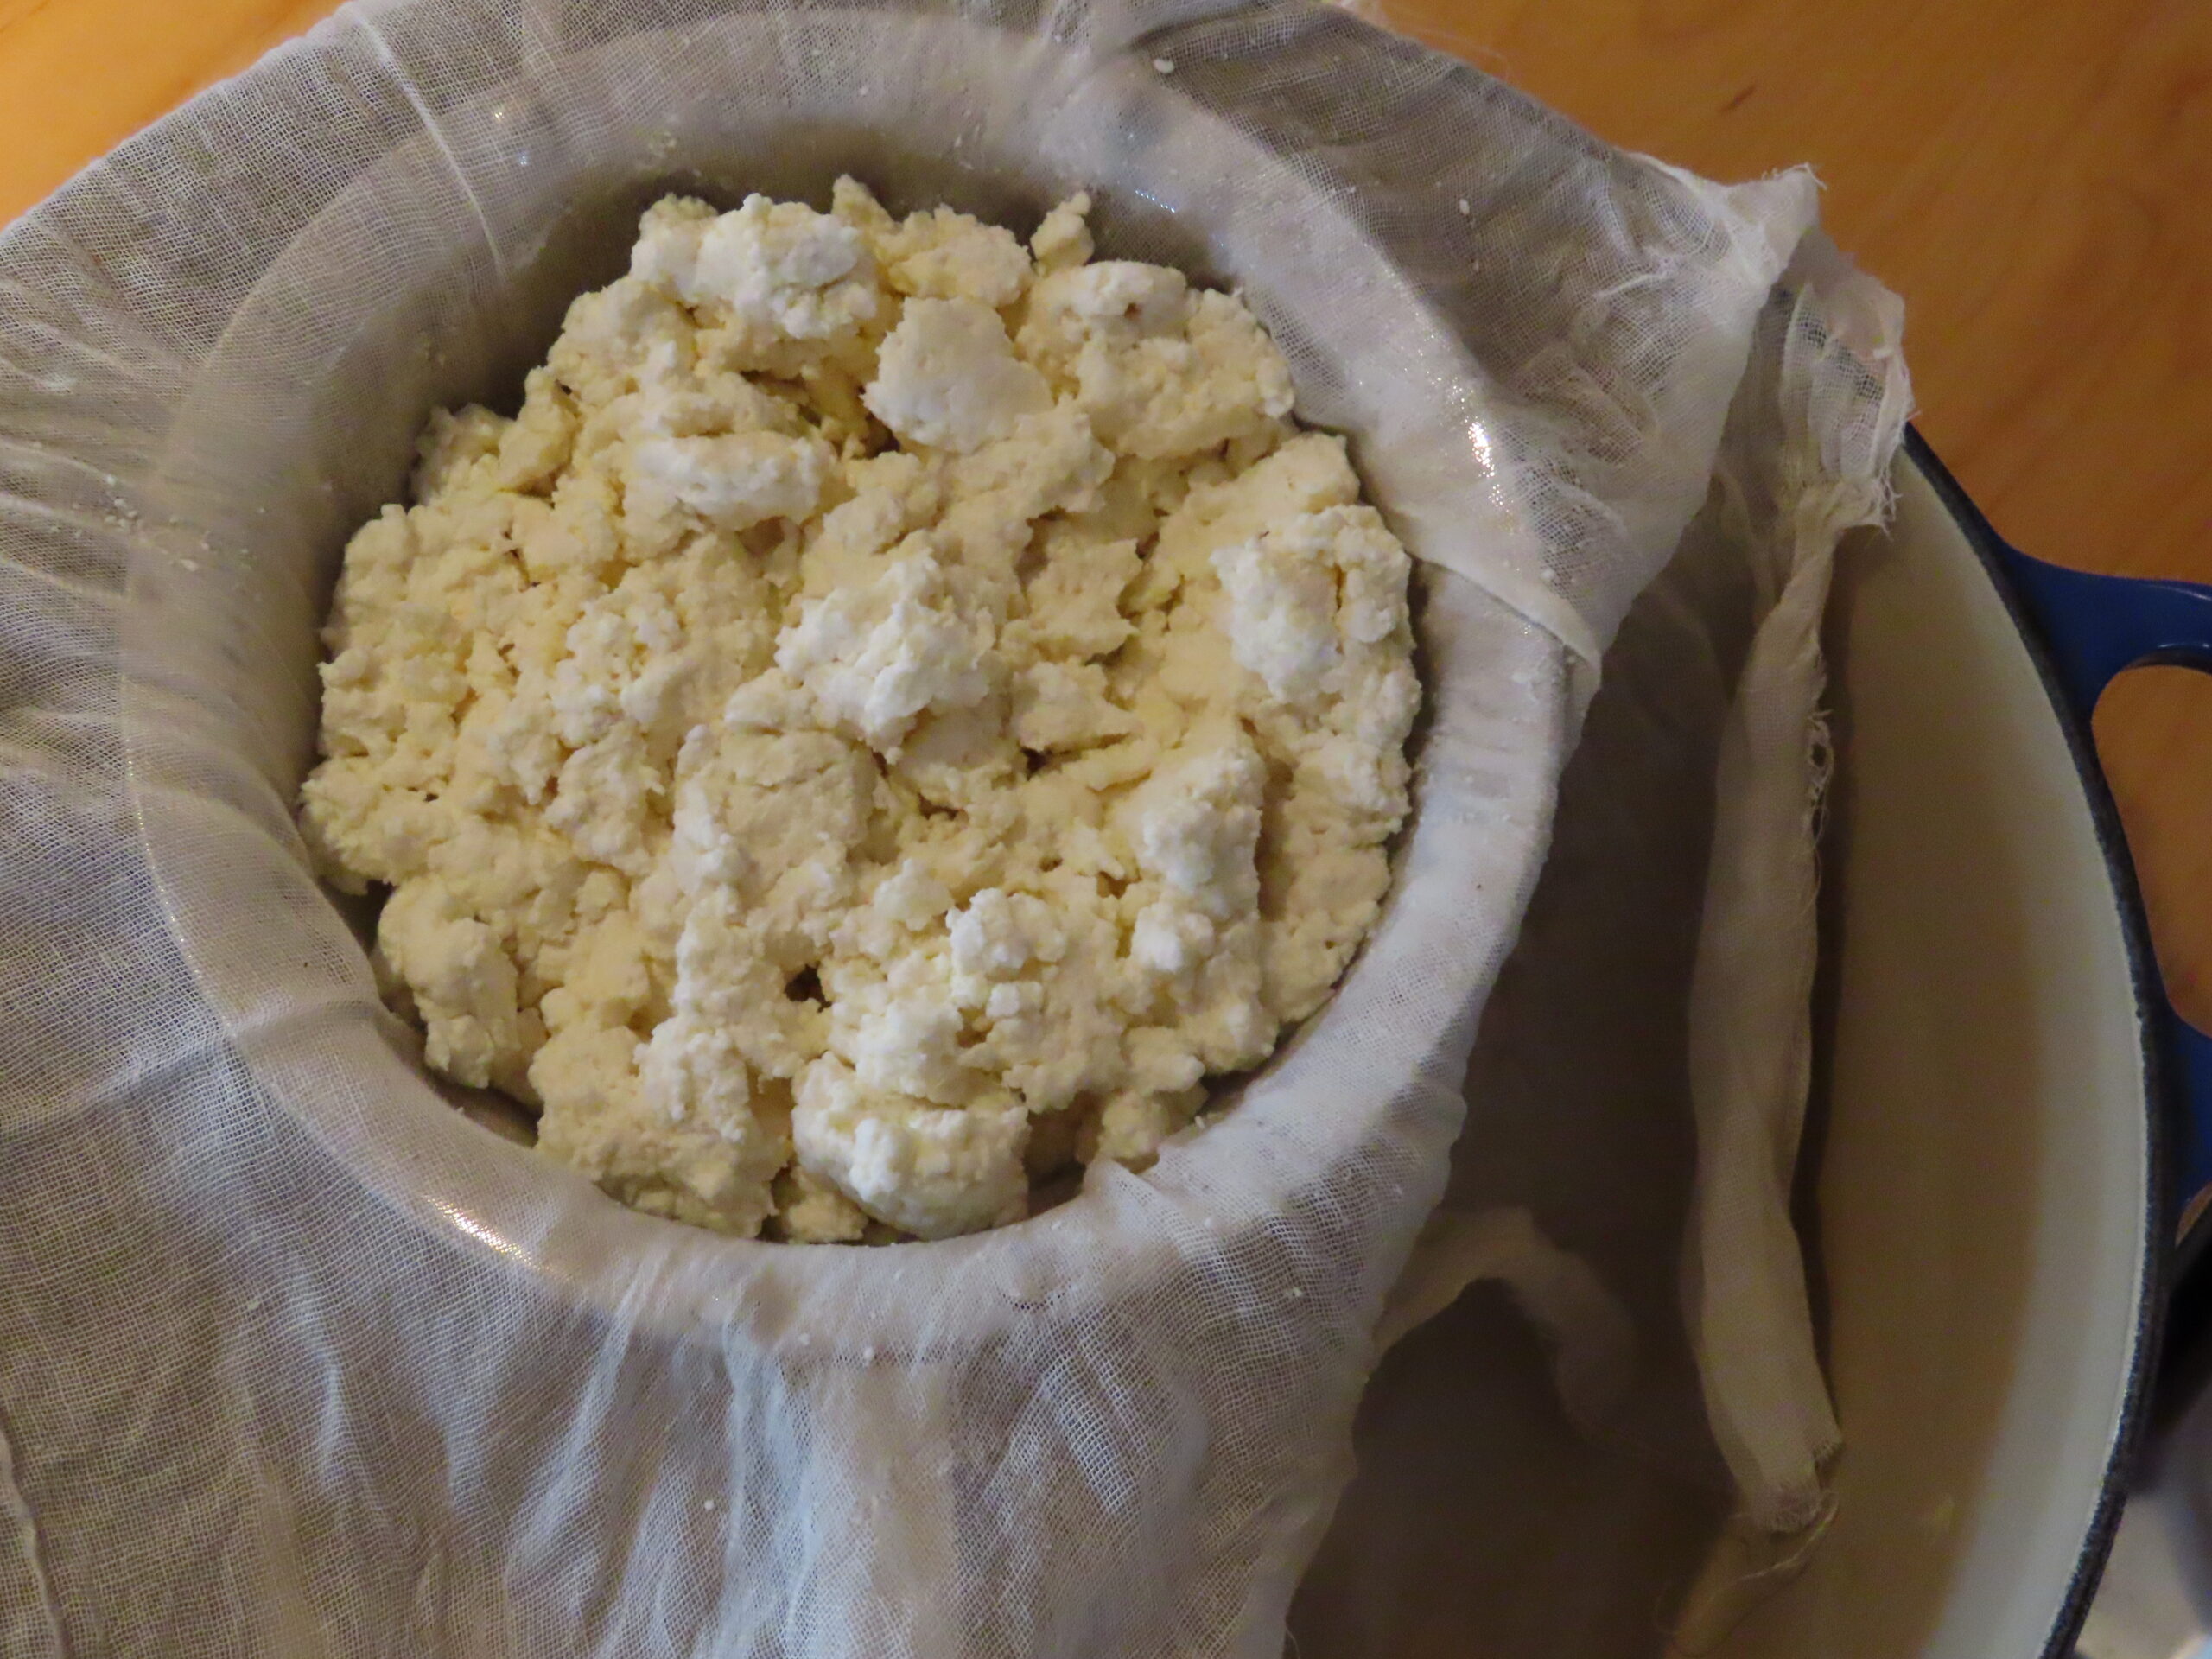
Set a colander over a large bowl or pot and line it with a layer of dampened butter muslin. Slowly ladle in the whey and then the curds, letting most of the whey run through before the curds slide into the colander. Let drain for five to 10 minutes, until the whey mostly stops dripping.
Sprinkle the salt over the warm cheese, and then fold it in gently with your fingers or a fork. Tie two opposing corners of the muslin into a knot, and then tie the remaining corners around a wooden spoon handle or other support that allows the cloth “bag” to hang in the large pot to finish draining. Let hang for about 30 minutes for a soft, spreadable texture and up to two hours for a dry, crumbly one.
Remove the cheese from the muslin. Refrigerate it in a lidded container for up to two weeks.
Julie Laing is a Bigfork-based cookbook author and food blogger. Learn more about this month’s cheesemaking workshops at TwiceAsTasty.com.